Dave’s projects: This post is dedicated to the projects Dave worked on between November 2019 and May 2020. It may not be a complete list, but it’s what we came up with after the fact. If you’re not into the work that is done on a boat, you may want to skip this entry.
Dave replaced the pump in both the forward and aft heads. We had black water backing up into the toilet. There are 2 gaskets that have to be replaced in the pump when this happens. For a few dollars more, you can get a new pump and have a cleaner job to do. We had a Jabsco pump and changed to a Whale pump. He also replaced the toilet bowl in the forward head. The original one was a “camper size”. This one is full size, or as Dave would say “for big butts”. I didn’t realize how uncomfortable it can be for a guy to have to sit on a toilet with all body parts inside the seat and be rocking and rolling at sea. Enough said.
We received a new stereo for Christmas. I think I played about 3 Christmas CD’s before the old one died. Dave had to rewire the new one. We can now use bluetooth to play the sound through our speakers from our computer or phones. We usually watch movies on our computer and run the sound though the stereo speakers. But we had to pull out a couple wires to make that work. Now we just have to remember which buttons to push, which can be challenging for our old minds.
We spent several days at the end of the year lining up new boat insurance. We used to have to stay north of Florida during hurricane season. Pantaenius changed our policy to staying north of Florida YEAR ROUND. We did a lot of research this fall and ended up going with BoatUS/Geico.
Dave replaced our fresh water pump and ordered a replacement pump to have on hand. The old one wasn’t pressurizing as it should. And you could tell by the sound that it was only a matter of time before it would quit.

Dave replaced our air conditioner/heater. There was a lot of corrosion in our old one, which was about 4-5 years old. We run it pretty hard in Georgia during hurricane season. The new one was supposed to be the exact same. He installed it and it didn’t work. He found out they had rearranged some wiring in the control box, which involved more work than originally planned. He sprayed this one with corrosion control. He also removed the Mermaid condensator that would collect the condensation. It sounded like a good plan, but the check valve for one way flow would go bad and the collection pan would overfill. The water would then flow into the bilge and set off the bilge alarm. After repairing it a few times, he decided to go back to the original plan of letting the condensation go directly into the bilge. Now he periodically runs the bilge pumps. This also gives him an opportunity to check that the bilge pumps are working.

 |
| old Mermaid Condensator |
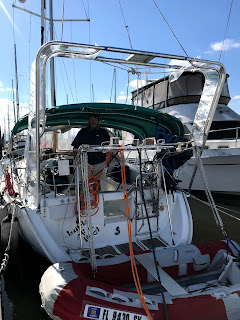
Dave had been working on sewing a new Bimini and Dodger for our cockpit. When he went back to where he left off, making the holes through the Bimini to mount the solar panels, he stepped back to reassess the situation. Having the solar panels on top of the Bimini has always been a pain in the @$$ when we want to remove them. Dave spent some time researching adding an arch. He ended up ordering one that could be assembled to fit our boat, Tower in a Box “as seen on TV, get yours today”. Actually it’s working great.
When the arch was delivered, Dave had to be present to accept the delivery. He also wanted to be able to inspect it, should it have to be returned right away. Well, that day happened to be the day of my colonoscopy that had been scheduled 2 months ago. Luckily, a dock mate with a car offered to take me and wait to bring me home. If you didn’t have a driver waiting for you, they would reschedule the procedure. All went well for the delivery and the colonoscopy.
Dave had to take several measurements to attach the arch to our stern. With the help of a tall friend, he was able to find the best location to mount the arch on the stern of our boat.


Finding the best place for mounting, also brought with it changes that had to be made to the existing structures. There are 2 “perch seats” at the corners of the cockpit. They can be rotated up to move them out of the way. Dave had to remove a corner of the seat to make room for the arch. Also, there are clamps on a rail that hold it in place as it rotates up. One of the clamps was broken. He replaced all the clamps and the leg mounts.
 |
| perch seat with corner removed for the leg of the arch |
 |
| perch seat leg sits on the teak, but it rotates up and out of the way when you need to enter that locker |
 |
| old mount of leg to underside of the seat |
 |
| old hinges |
 |
| old hinges |
 |
| old hinge |
 |
| new parts with solar light on top of it |
 |
| perch seat with cut out and solar light on top of it |
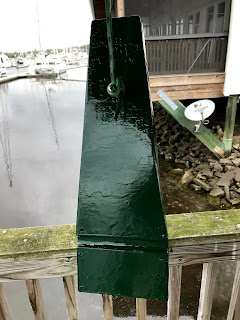
While he was working on the arch, he noticed that the motor mount board for our 20hp Mercury outboard was cracked. Had he not noticed, we could have found our outboard dangling off the stern of the boat, as long as the tethers held on to it. This one was made of starboard, so Dave found 3/4” plywood, glued 2 layers together, notched it to fit over the rail. Then he epoxied the surface and painted it green.


We had a lever arm to raise the outboard onto the the stern or lower it to the dinghy. It was mounted on the davits. Dave was able to move it to the arch. In this position, it is further out over the water, which makes it easier to reach the back of the dinghy. From the davits, he would have to pull the motor out away from the boat and to the dinghy.
We have had our grill on the port side of the stern for years. That had to be moved, too. Dave was able to mount it more off the corner and to the port side. We’ve yet to try it out. Reaching it may be more challenging. But another concern will be clearing a dock piling as we are arriving or leaving a dock. These are posts that support the dock that can be close to the edge of the dock. Depending on the wind and current and space available, the grill could rub against a piling accidentally. So we’ll keep you posted on that one.


When Dave had to drill holes into the arch to run wires, he positioned the dinghy underneath him to catch any tools he might drop. WELL, that also meant the the dingy caught all the aluminum shards. So that turned int a job just to clean up his mess. After the holes were drilled, he had to use a tool to smooth the edges, to protect the wiring running though the holes.


For those of you that have been hanging in there, here is a break. There was a swan hanging around the marina for over a month. The marina was asking us to give it a name. Dave thought it should be Sue short for Suwannee, since the river originates in Georgia

 |
| we think it was looking at it's reflection on the boat |
After the arch was in place, it had a wobble to it. Dave called the company, the directions say to have the base of the arch 3-5 inches wider than the top. They recommended he have an 8 inch spread of the bows. He made the changes which involved unbolting the arch and drilling new holes and cleaning the shards again. And it still had a wobble. After calling the company again, they are sending additional parts to brace it.

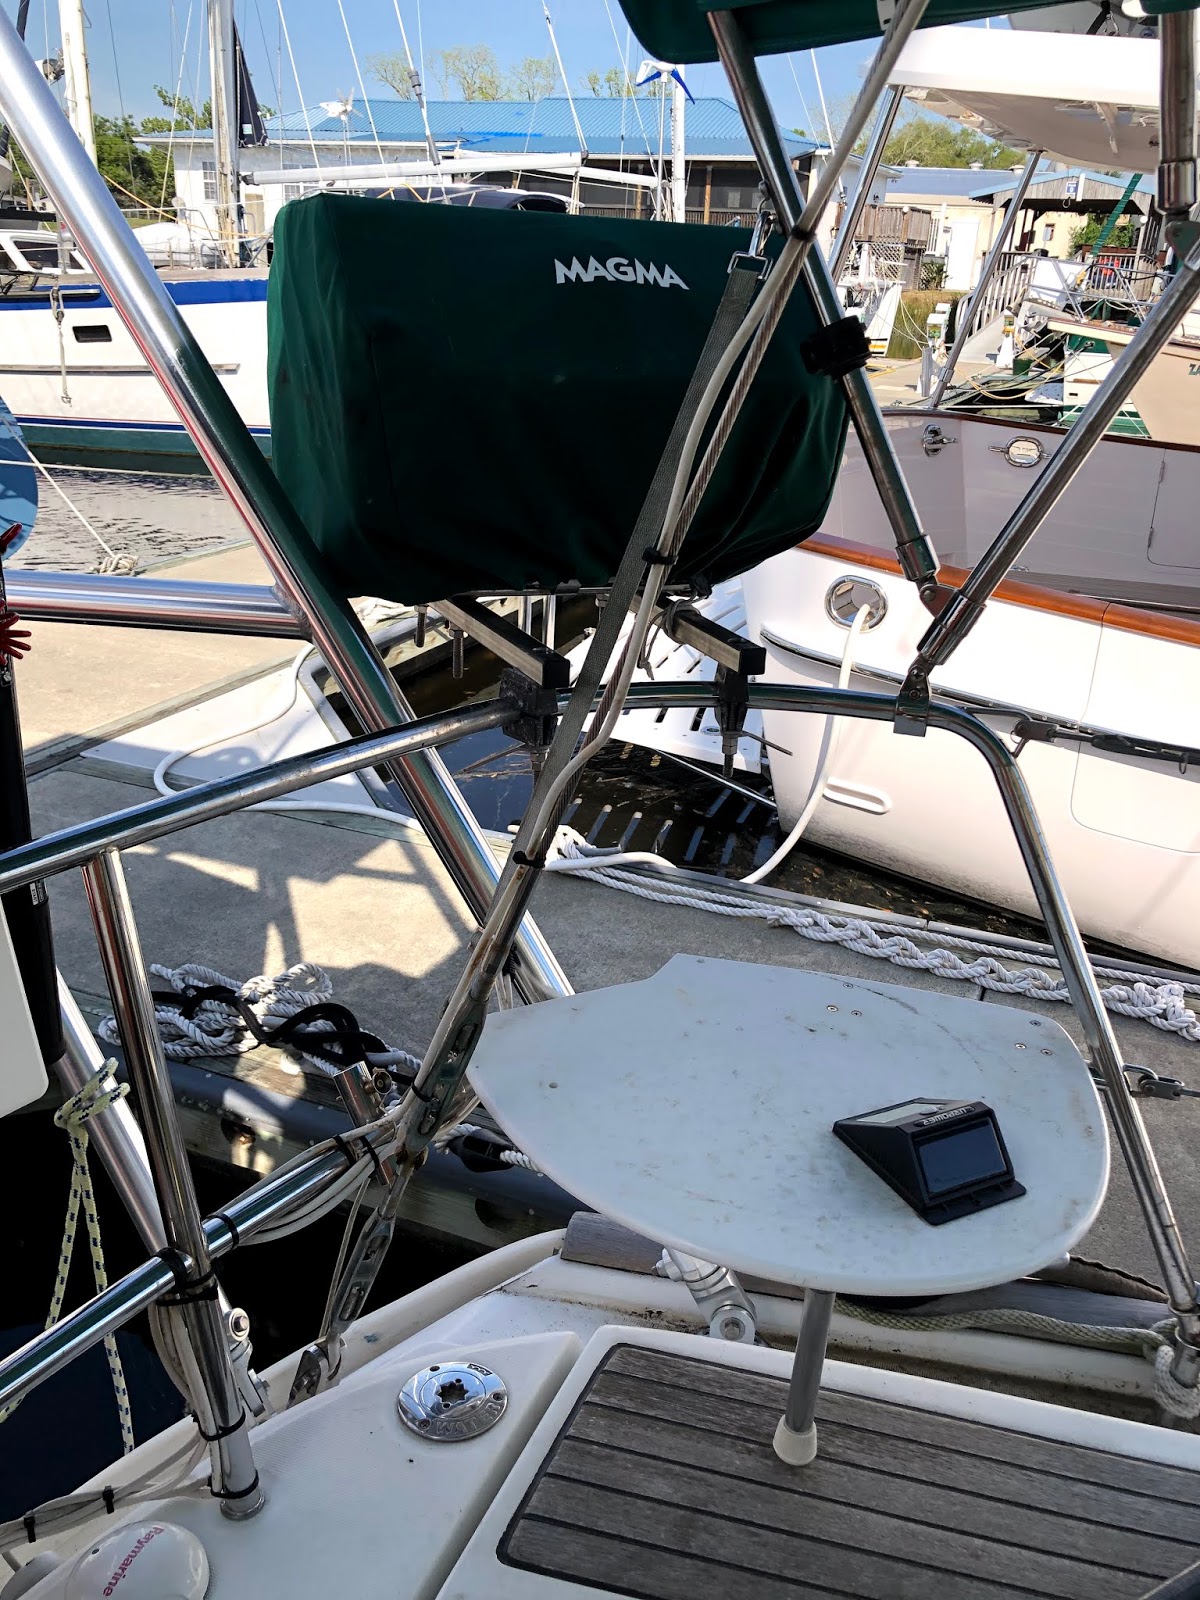
The next job involved mounting the solar panels, radar, wifi booster and DSC antenna for emergencies. Some items had to be a designated distance from the radar. Other things had to be sure they didn’t make a shadow on the solar panels. It was like putting together a puzzle. When mounting the DSC antenna, he was concerned about the plastic mount cracking if it wobbled. He changed it to an adjustable stainless steel mount. Now he needed to place plastic washers to separate the stainless steel form the aluminum arch to avoid galvanization. He has seen the destruction of the aluminum in the past.
 |
| leveling the radar |
 |
| metal vs plastic mount for antenna (adjustable mount came in handy when the boat was hauled out in May) |
 |
| yellow box is the wifi booster |

 |
| still need to take the wrinkles out of the new bimini |
Once the different units were in place, he had to run the wires for everything and add extensions for some. The arch added about 5-6 feet to where they had been mounted. He left a GPS on the davits because he couldn’t extend the wire. He also had to empty out the aft cabin to be able to attach the wires as needed. Once everything was completed, he had to go back in and zip tie all the wires in place. All in all it has been a great addition.
 |
| aft cabin with the boards removed that support the bed. Blue tank is a water tank |


No comments:
Post a Comment